
To start DIY rainwater collection, you’ll need a collection surface like your roof, gutter system, and a storage tank. Install gutters properly with a slight slope, add a first flush diverter, and connect pipes to channel water into your tank. Include screens and filters to keep debris out, and maintain your system regularly. If you’re curious about every step, this guide will walk you through transforming rain into usable water effectively.
Key Takeaways
- Select appropriate roof materials and size your storage tanks based on rainfall and water needs.
- Install gutters and downspouts with proper slope and secure fittings to ensure efficient water flow.
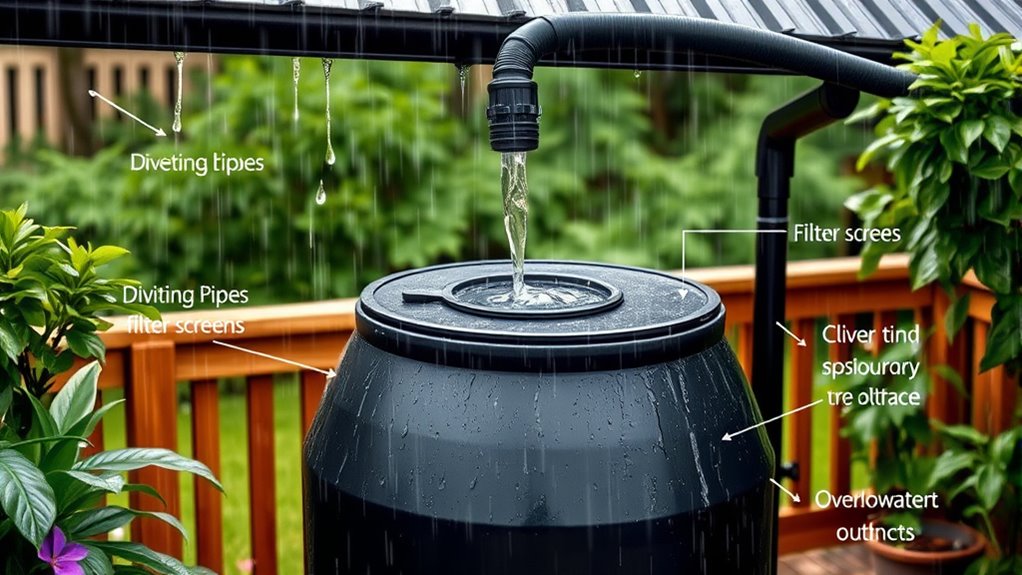
- Use first flush diverters and filters to remove debris and improve water quality before storage.
- Protect the system with backflow preventers, vented screens, and secure components to prevent contamination.
- Regularly maintain and clean gutters, screens, and tanks to ensure the system remains functional and safe.

Ahopegarden Indoor Garden Hydroponics Growing System: 10 Pods Plant Germination Kit Herb Vegetable Growth Lamp Countertop with LED Grow Light - Hydrophonic Planter Grower Harvest Lettuce
High planting efficiency: Start an indoor herb garden with the Ahopegarden hydroponic growing system, which includes a water...
As an affiliate, we earn on qualifying purchases.
Understanding Your Rainwater Collection Components
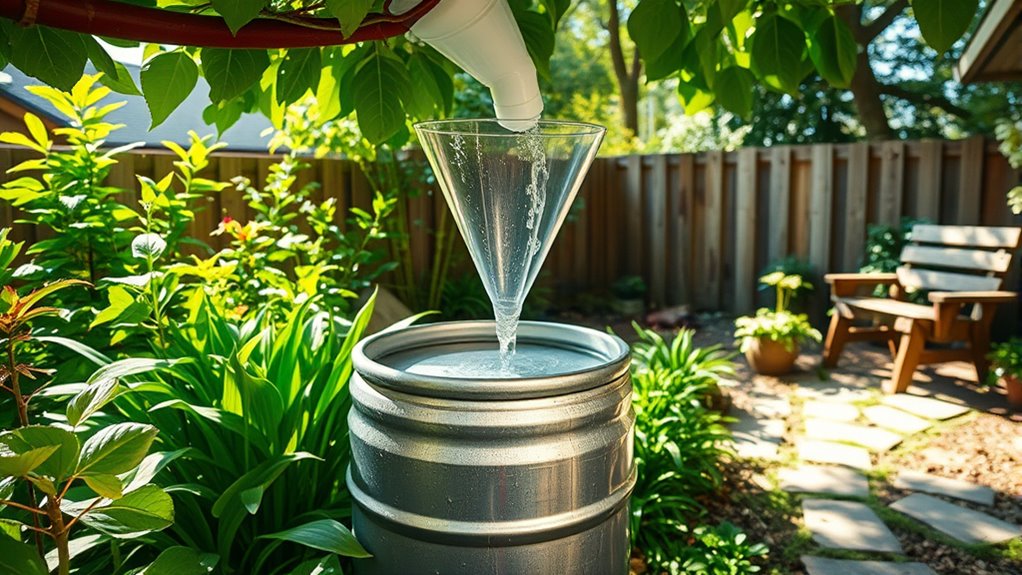
To effectively set up a rainwater collection system, you need to understand its key components and how they work together. First, the collection surface, typically your roof, captures rainwater and directs it toward gutters. These gutters and downspouts form the conveyance system, channeling water efficiently into storage tanks. To improve water quality, a first flush diverter is installed to divert the initial runoff, which may contain debris and pollutants. Storage tanks, made from materials like plastic or concrete, hold the water for future use; they should be opaque to prevent algae growth. Additionally, incorporating remote work features into your setup can allow for easier monitoring and maintenance from anywhere. Implementing water quality measures, such as filters or treatment systems, can further ensure the stored water remains safe. Proper system maintenance is essential to keep all components functioning correctly and to prevent issues such as blockages or contamination. Finally, a distribution network, including pipes or hoses, delivers water from the tank to your intended use points, such as gardens or household fixtures. Understanding these components ensures your system functions smoothly and effectively.

VINGLI 50 Gallon Collapsible Rain Barrel, Portable Water Storage Tank, Rainwater Collection System Downspout, Water Catcher Container with Filter Spigot Overflow Kit
Saving the Water: A sustainable solution to reuse the rainwater in your garden watering or etc. At the...
As an affiliate, we earn on qualifying purchases.
Choosing the Right Collection Surface and Storage Tank
Choosing the right roof material affects how well your collection system works and how easy it is to maintain. When selecting a storage tank, consider its size to meet your water needs and the durability of the material for long-term use. Balancing these factors guarantees your rainwater system is both efficient and reliable. Additionally, using vegetable juices or other natural liquids can help keep your system clean and free from buildup over time. Regular inspections and system maintenance are essential to prevent leaks and ensure optimal performance. Incorporating proper system sizing and load‑planning tools can further enhance the longevity and performance of your rainwater harvesting system. Using a quality filtration system can also improve water purity and safety for various uses.
Optimal Roof Materials
Selecting the right roof materials is essential for maximizing rainwater collection efficiency and ensuring water quality. You want surfaces that are smooth, non-toxic, and easy to clean. Metal roofs, like aluminum or steel, are excellent—they’re durable, non-porous, and resist algae. Asphalt shingles are common but may leach chemicals over time, so they’re less ideal. Avoid materials like wood or tiles that trap debris or contain harmful substances.
| Roof Material | Pros | Cons |
|---|---|---|
| Metal (aluminum, steel) | Long-lasting, easy to clean, non-toxic | Higher initial cost |
| Asphalt Shingles | Widely available, affordable | Chemical leaching, porous |
| PVC or Rubber | Lightweight, easy to install | Potential chemical concerns |
Tank Size Considerations
The size of your storage tank directly impacts how much rainwater you can collect and use. To determine the right capacity, consider your average rainfall, water needs, and available space. If you primarily water a small garden, a 50-100 gallon tank may suffice. For household use or larger gardens, opt for 500 gallons or more. Keep in mind that larger tanks require more space and may need additional support or reinforcement. It’s wise to oversize slightly to account for heavy rain seasons and future expansion. Remember, a tank that’s too small won’t meet your needs, while an excessively large one could be unnecessary and cumbersome. Balancing your water requirements, space, and budget is key to choosing the suitable tank size. Additionally, understanding juice yield from your collection surface can help estimate how much water you’ll be able to harvest effectively. Proper planning of wall organization and storage placement can optimize space and accessibility for maintenance. Evaluating the technology used in your collection surface can also improve efficiency and water quality over time. Moreover, assessing installation requirements beforehand can ensure a smoother setup process and long-term durability. Considering catering and delivery options for your setup can also assist in acquiring the necessary materials and support for your rainwater harvesting system.
Material Durability Factors
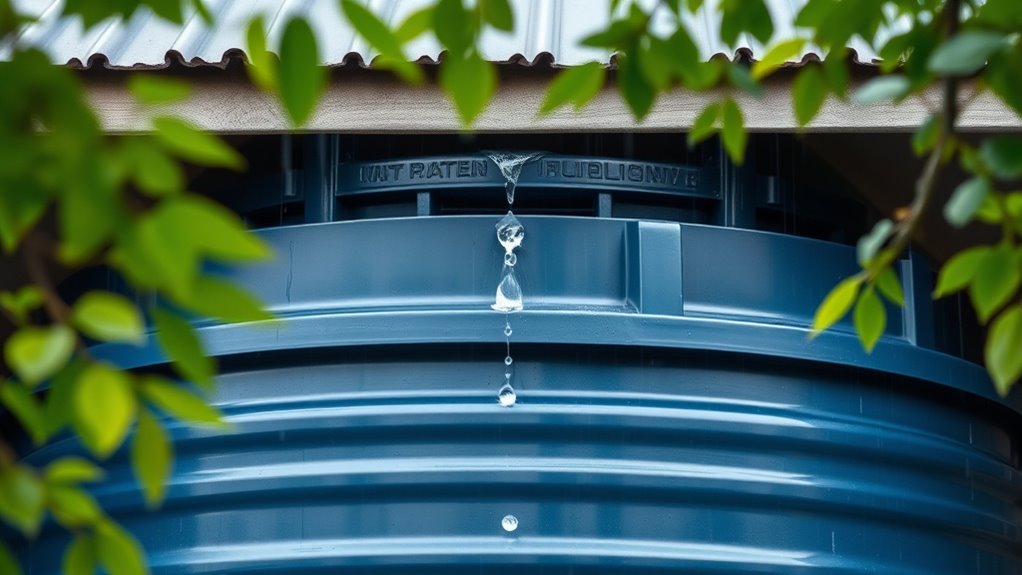
Material durability plays a crucial role in guaranteeing your rainwater collection system remains effective and long-lasting. When choosing surfaces and tanks, consider exposure to weather, UV rays, and chemicals. For collection surfaces like roofs, metal or asphalt shingles resist weathering better than wood, which may rot or degrade over time. For storage tanks, plastics like polyethylene and fiberglass are lightweight, resistant to corrosion, and handle UV exposure well. Concrete tanks are sturdy but can crack if not properly reinforced, while galvanized steel offers durability but may rust if not coated. Confirm tanks are opaque to prevent algae growth and resistant to pests. Additionally, selecting UV-resistant materials can further enhance the longevity of your system. Proper material selection ensures your system withstands environmental stressors and reduces maintenance needs. Regular maintenance and choosing quality materials will extend your system’s lifespan and keep your water clean and safe. Incorporating weather-resistant coatings on tanks and surfaces can also provide extra protection against environmental damage. Moreover, choosing materials that are resistant to common chemical exposures can help prevent degradation over time. Considering impact resistance is also beneficial, especially in areas prone to hail or falling debris, to prevent damage to your collection surfaces and tanks.

KMJETNIVY Rain Barrel Upgrade Anti-Collapse Collapsible Rainwater Collection System,Portable Water Storage Tank,Garden Water Catcher(Green,50G)
Recycling: This rain barrel is a popular choice for environmental protection enthusiasts. About 50 or 100 gallons of...
As an affiliate, we earn on qualifying purchases.
Essential Materials and Tools for Your DIY System

To build an effective DIY rainwater collection system, you’ll need a range of essential materials and tools that guarantee durability, water safety, and proper functionality. First, you’ll require gutters and downspouts to channel rainwater from your roof. Second, a first flush diverter helps improve water quality by removing initial runoff contaminants. Third, a storage tank made from materials like polyethylene or concrete stores the collected water securely. Fourth, a pump system may be necessary if you plan to pressurize water for household or irrigation use. Additional tools include filtration and screens to prevent debris and insects from entering the system. Ensuring you have these key components will set a solid foundation for your rainwater harvesting project.

Good Ideas Impressions 50 Gallon Nantucket Outdoor Home Rain Barrel Water Storage Collector with Garden Planter and Brass Spigot, Dark Brown
50 Gallon capacity rain barrel and 4 inch planter top
As an affiliate, we earn on qualifying purchases.
Step-by-Step Guide to Installing Gutters and Downspouts
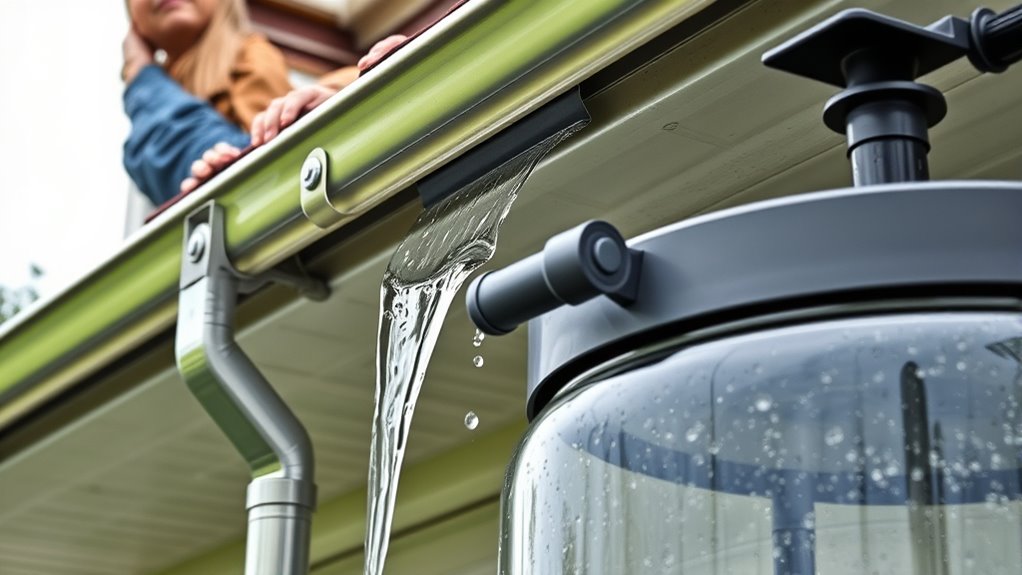
Installing gutters and downspouts correctly is the first step toward ensuring your rainwater collection system works efficiently. Begin by measuring your roof edges to determine gutter length, then mark installation points along the fascia or roofline. Use brackets or hangers to secure gutters, ensuring a slight slope (about 1/4 inch per 10 feet) toward the downspout locations. Attach the gutters firmly, checking for proper alignment and slope to facilitate water flow. Cutting gutters to the needed length and mounting them with the correct installation techniques helps prevent leaks and sagging. Double-check all connections for stability and watertight seals to prevent leaks during heavy rain. Proper setup of your sound recording equipment can also greatly improve the quality of your collected data, especially when capturing natural rain sounds. Additionally, understanding angel numbers can offer spiritual guidance and insight during your DIY projects, reminding you to stay patient and optimistic throughout the process. Being aware of pinball machine weights can also be helpful if you plan to incorporate any vintage or arcade-style elements into your rainwater harvesting setup.
Setting Up and Maintaining First Flush Diverters
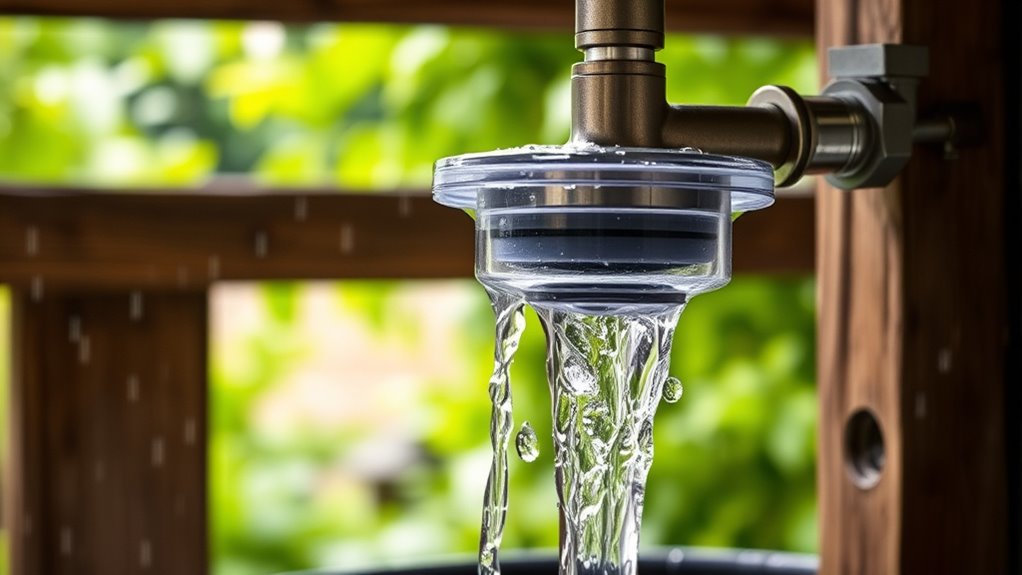
Setting up and maintaining first flush diverters is essential for guaranteeing your rainwater remains clean and safe for use. To do this effectively, focus on these key steps:
Ensuring your first flush diverter is properly installed and maintained keeps rainwater clean and safe.
- Proper Placement: Install the diverter at the highest point of your gutter to catch the initial runoff. Proper placement ensures maximum debris removal from the water before it enters your storage system. Correct placement also minimizes the chances of debris bypassing the diverter.
- Secure Connections: Ensure all fittings are tight and sealed to prevent leaks and bypasses. This prevents contamination and maintains water quality.
- Adjustability: Set the diverter’s outlet height to control the volume of diverted water, optimizing debris removal. Adjustability helps tailor the system to seasonal changes and rainfall intensity.
- Regular Cleaning: Empty and clean the diverter periodically to remove accumulated debris, sediment, and prevent clogs. Regular maintenance also reduces potential health risks associated with stagnant or contaminated water. Incorporating a maintenance schedule can help keep your system functioning optimally.
- Risk Management: Regular maintenance helps mitigate potential security vulnerabilities that could compromise your water quality. Additionally, inspecting for cracks or damage ensures the system functions effectively over time.
Connecting Conveyance Pipes and Ensuring Water Flow
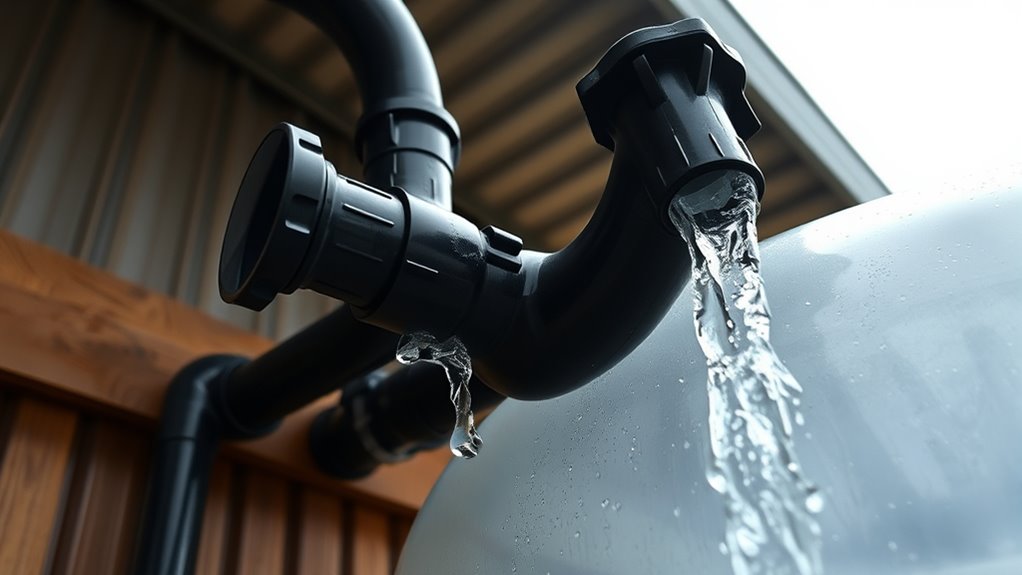
How do you guarantee rainwater flows smoothly from your collection surface to your storage tank? The key is to connect your conveyance pipes properly and ensure a consistent downhill slope. First, measure and cut your gutters and downspouts to fit your roof and tank location. Securely attach the gutters to your roof’s edge, then connect downspouts at the lowest points, making sure they direct water toward your tank inlet. Use elbows and connectors to guide water around obstacles. When installing pipes, maintain a steady slope—typically 1/8 inch per foot—to prevent standing water and clogging. Seal all joints tightly with weatherproof sealant or appropriate fittings to prevent leaks. Regularly check connections for debris or damage, ensuring water flows freely into your storage system.
Installing Filtration and Screen Systems for Water Quality
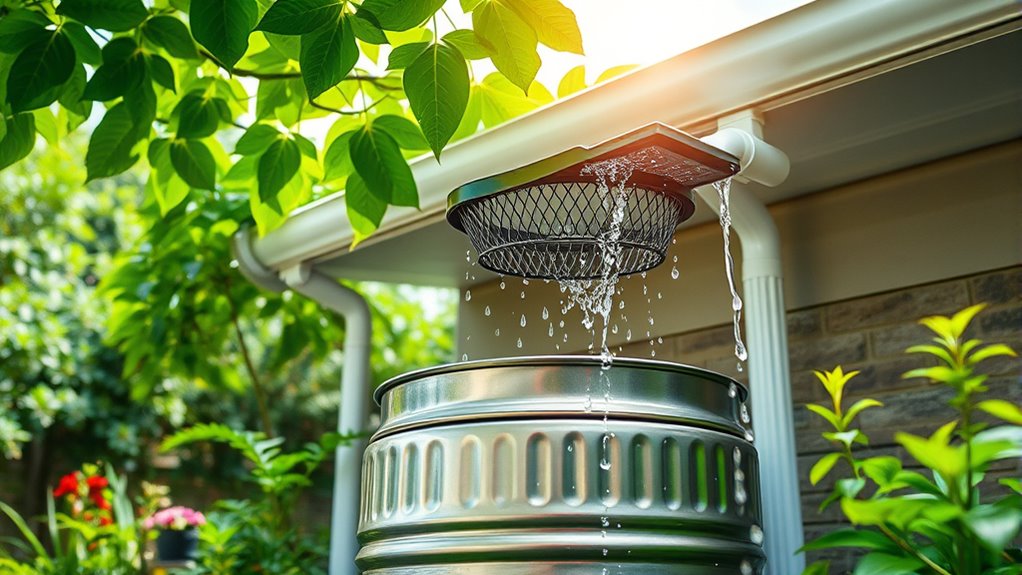
Choosing the right screen types is vital for keeping debris and insects out of your system. Properly installing filtration units guarantees clean water flows smoothly and meets quality standards. Regular maintenance helps you stay ahead of contaminants and keeps your rainwater safe for use.
Choosing Effective Screen Types
Selecting the right screen types is essential for maintaining water quality in your rainwater collection system. Proper screens prevent debris, insects, and leaves from contaminating your water. Consider these options:
- Mesh Screens (#16 to #24): Fine mesh on gutters or tanks filters out leaves and large debris, reducing clogging.
- Leaf Guards: Guard gutters with sturdy screens to prevent organic matter from entering the conveyance system.
- Strainer Baskets: Placed at tank inlets, they catch sediment and animals before water enters storage.
- Vented Mesh Covers: Over overflow and vent openings, these keep insects out while allowing airflow.
Choose screens based on debris size, ease of maintenance, and system compatibility. Combining these options ensures cleaner water and less system clogging.
Installing Filtration Units Properly
Installing filtration units correctly is essential to guarantee your rainwater remains clean and safe for use. Start by positioning filters at strategic points: beneath gutters, on inlet pipes, and within the storage tank. Ensure each unit fits securely and is accessible for maintenance. Use mesh screens (#24 or finer) on gutters and overflow vents to keep debris out. Inside the tank, install inlet strainers that prevent sediment and animals from entering. Regularly clean and check filters for clogs or damage to maintain water quality. Proper installation prevents contamination and extends system lifespan. Here’s a quick reference:
| Location | Filter Type | Maintenance Frequency |
|---|---|---|
| Gutter/Downspout | Mesh Screen (#24) | Monthly |
| Tank Inlet | Strainer Basket | Weekly |
| Overflow Pipe | Mesh Screen | Quarterly |
| Vent/Openings | Mesh Cover | Semi-annual |
| Inside Tank | Sediment Filter | Monthly |
Maintaining Water Quality Standards
Maintaining water quality in your rainwater system depends heavily on proper filtration and screening methods. To guarantee clean water, focus on these key steps:
- Gutter Screens and Leaf Guards: Fit 1/4-inch mesh screens to prevent leaves, twigs, and debris from entering your system.
- Tank Inlet Strainers: Use baskets to catch sediment and animals before water reaches the tank; clean regularly.
- Filtration Units: Install multi-stage filters before and after storage to remove dirt, bacteria, and contaminants.
- Mosquito and Algae Prevention: Cover vents and overflow pipes with mesh screens (#24) and use opaque tanks to limit algae growth.
Consistent maintenance keeps your system efficient and water safe for use. Regular checks and cleaning are essential to uphold water quality standards.
Setting Up Pumps and Distribution Networks
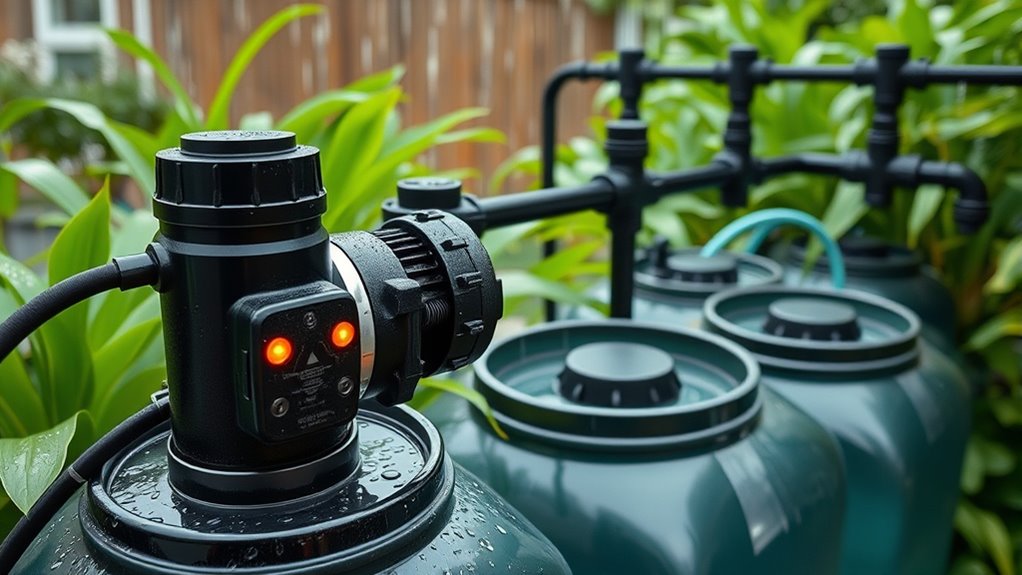
To effectively distribute collected rainwater for household or irrigation use, you’ll need to set up a reliable pump system and a well-planned network of pipes or hoses. Start by selecting a pump suited to your water volume and pressure needs—submersible pumps work well for below-ground tanks, while surface pumps suit open tanks. Connect the pump to your storage tank using watertight fittings, making certain proper grounding and safety. Lay out pipes or hoses from the pump to your irrigation system, outdoor faucets, or indoor fixtures. Use backflow preventers and pressure regulators to protect your system and maintain consistent flow. Regularly check connections for leaks, and guarantee your pump is protected from debris and power surges. Proper setup guarantees efficient water delivery and long-term system performance.
Routine Maintenance and Tips for Long-Term Success
Regular maintenance is essential to guarantee your rainwater collection system functions efficiently and lasts for years. To keep everything in top shape, follow these tips:
Routine maintenance ensures your rainwater system stays efficient and lasts for years.
- Clean gutters and screens regularly to prevent blockages and debris buildup that can cause overflow or contamination.
- Inspect first flush diverters for clogs or damage, and empty or replace them as needed to maintain water quality.
- Check for leaks in tanks, pipes, and connections to avoid water loss and structural issues.
- Test water quality periodically if using for household needs, ensuring filters and treatment systems are functioning properly.
Staying diligent with these steps guarantees your system remains reliable, safe, and efficient year after year.
Frequently Asked Questions
Can I Use Rainwater Harvests for Drinking Without Extra Treatment?
You shouldn’t use rainwater harvests for drinking without extra treatment. While initial collection components like gutters and filters remove debris, they don’t eliminate bacteria, viruses, or chemicals. To make rainwater safe for drinking, you need to sterilize it with methods like boiling, chlorination, or UV purification. Regular testing is also essential to guarantee water quality. Always treat rainwater before consumption to protect your health.
What Safety Precautions Are Needed During System Installation?
You should verify your local regulations before installation, as safety standards vary. Wear protective gear like gloves, goggles, and sturdy shoes to prevent injuries. Confirm all components are securely mounted and watertight to avoid leaks or accidents. Keep electrical tools away from water, and work in dry, stable conditions. Regularly check for sharp edges or loose fittings, and follow manufacturer instructions to ensure a safe, effective system setup.
How Do I Prevent Pests From Entering My Storage Tank?
You prevent pests from entering your storage tank by installing fine mesh screens (#24 or smaller) over vents, overflow pipes, and inlet openings. Make certain all tank openings are tightly sealed with lids or covers, and use floating intake devices to block insects and debris. Regularly inspect and clean screens and lids to maintain effectiveness. Keeping the tank opaque also discourages pests and algae growth, ensuring cleaner water.
Is It Legal to Collect Rainwater in My Area?
Think of rainwater collection as your modern take on a medieval water well—generally, it’s legal in most areas, but rules vary. You should check with your local government or water authority first to see if permits are needed or restrictions apply. Some regions have strict regulations, especially if collecting large amounts or using it for potable purposes. Always stay informed to avoid any legal rainclouds overhead.
How Do I Scale up My System for Larger Water Needs?
To scale up your system for larger water needs, add more storage tanks and connect them with overflow pipes or modular systems. Install larger or additional conveyance pipes to handle increased flow, and upgrade your pump system for higher capacity. Consider underground piping for gravity-fed distribution and incorporate multiple first flush diverters to maintain water quality. Regularly maintain and monitor your expanded system to guarantee efficiency and water safety.
Conclusion
Now that you’ve got the basics down, you’re all set to turn your roof into a rainwater harvesting powerhouse. With a little effort, you’ll be collecting every drop Mother Nature offers, saving money and helping the environment. Remember, slow and steady wins the race—don’t rush the process. Keep up with regular maintenance, and your system will serve you well for years to come. It’s a small step that can make a big difference!